Digital Roughness Testers
Coatings & Industry > Material properties > Roughness
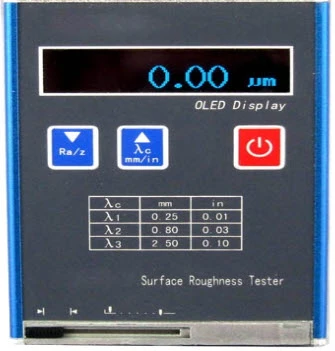
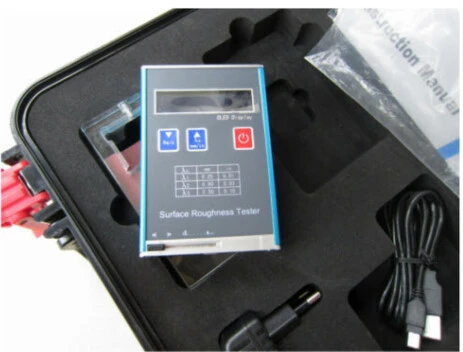
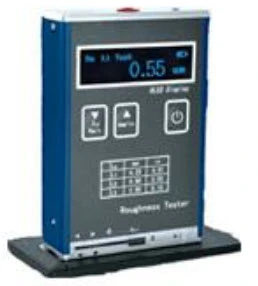
KR 110
Features:
- Pocket-size & economically price;
- Useing the high speed microprocessor DSP;
- Using the OLED screen,bright and without visual angle
- Data ourput USB port
- Large measuring range suitable for most materials
- Measures flat,outer cylinder and sloping surface
- Both Ra and Rz parameters in one insrument
- Works on 3.7V rechargeable lithium-battery,work while charging
- Real time battery indicator
NEW Palmtop Roughness Tester LITEsurf
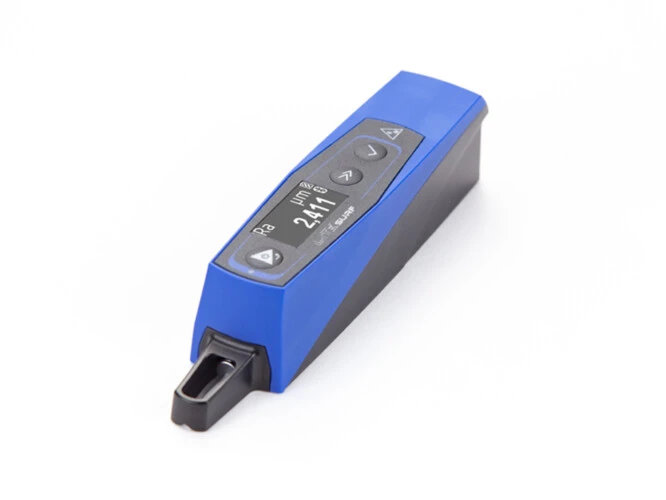
LITEsurf
Palmtop roughness tester
Code: 231-1.110
The new LITEsurf roughness tester was born from the forty-year experience that SM has in measuring and designing roughness tester for production areas.
This is why we know well what are the characteristics that are really necessary for an instrument of this family that has to go to work there right with you: compactness, robustness, ease of use and clarity of the results, these are the characteristics that they will make LITEsurf the ideal partner for roughness characterizing on your parts.
Are you considering buying a new palmtop roughness tester?
We accept the challenge, because we are sure that the new LITEsurf roughness tester is a step forward compared to the other opponents!
Are you not convinced?
We give you 5 good reasons!
Connectivity: Today technology allows us to share information quickly and easily, can your new roughness tester do it? The new LITEsurf, thanks to the integrated Bluetooth and USB connection, allows you to connect the smartphones, tablets and PCs in an intuitive and fast way, then sharing information with the rest of the world.
Flexibility: you want, with a single instrument, to measure zones horizontally, vertically, up / down or sideways, many will answer you impossible, but LITEsurf can do all this. Through the probe rotatable laterally by 90 ° and to the balanced and preloaded sensor, each area of the piece can be measured.
Robustness: A robust palmtop roughness tester with few plastic and a lot of metal? Difficult to find on the market you will think. But is not so! The LITEsurf has a light alloy body machined from solid combined with a PC / ABS body that guarantee high rigidity with high impact resistance. The tool that is not afraid of the bumps and accidental falls inevitable in normal use in production.
Reporting: Do you need to generate customized reports with company logo, description, notes and even a photo of the measured detail and save them in a standard format such as in PDF or Excel for easy sharing and archiving? Many will offer you additional paid software and perhaps not so flexible; LITEsurf by connecting to an external device such as your Smartphone or tablet on which the free "Roughness studio base" APP is installed, can do all this with ease.
Battery life: How often are battery-powered devices discharged just when they are needed? We as you know it well, for this reason a sophisticated charge management system has been integrated into the LITEsurf which performs a full charge in 50 minutes, guaranteeing 10 hours of work and at least 300 roughness measurements. Don't you have this time? Just give us 3 minutes of charge and we guarantee you to perform at least 20 measurements.
The LITEsurf is charged via the same cable and charger that you use to charge your Smartphone or Tablet (USB type C), a nice simplification!
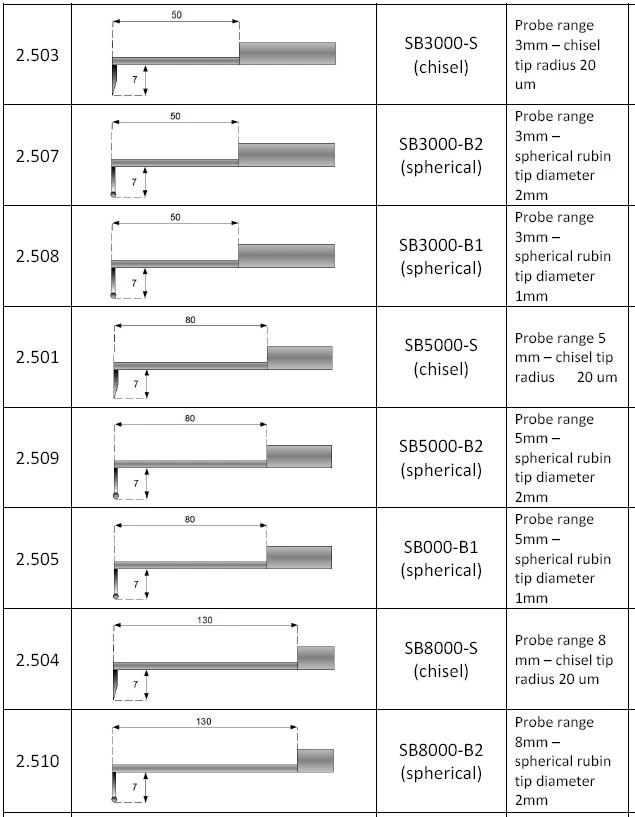
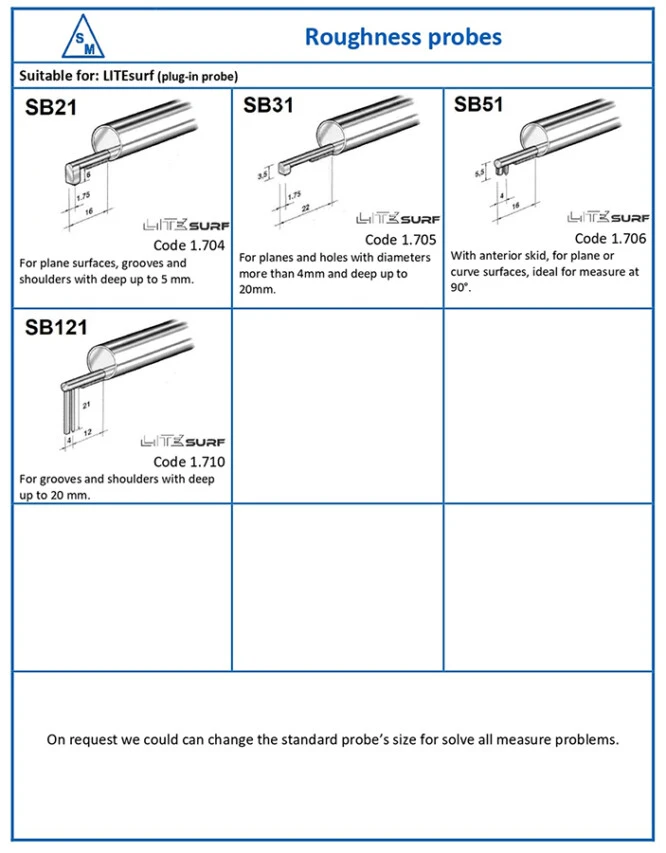
The instrument can analyze surface features along with dimensional ones, thanks to the interchangeable styluses for both roughness and profilometry.
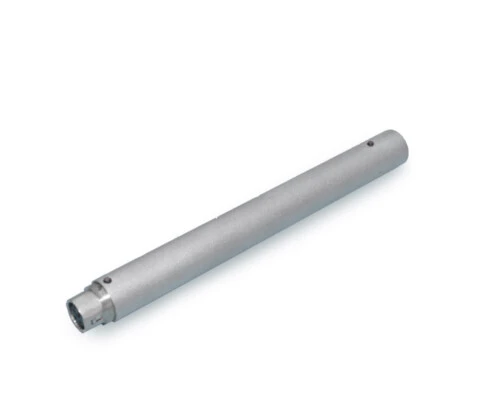
ACCESSORIES:
Extension part
for sensor
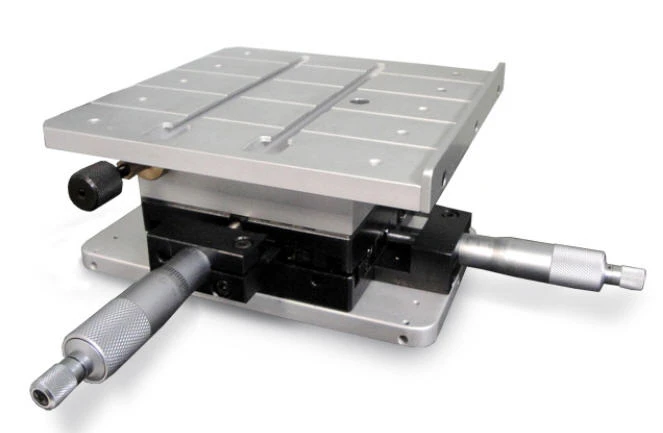
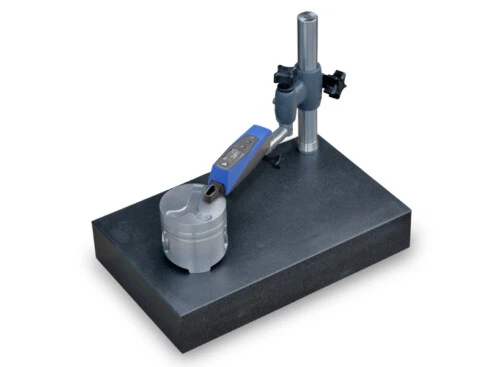
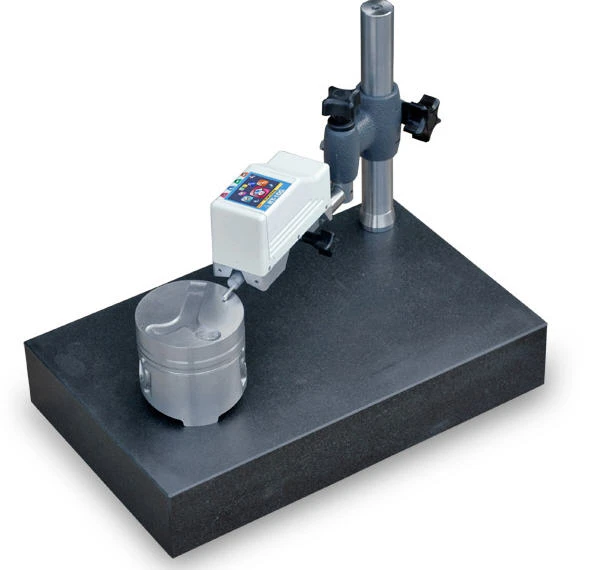
Statif
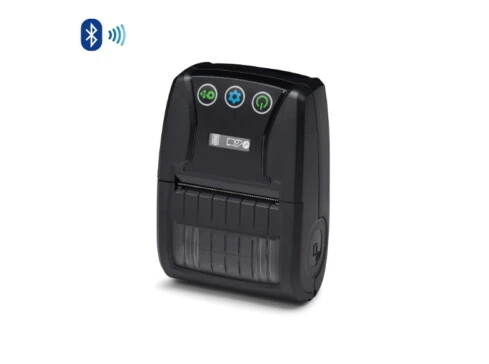
Printer
LITESurf Roughness Studio Application Software Premium Version


Portable RT-10 PLUS
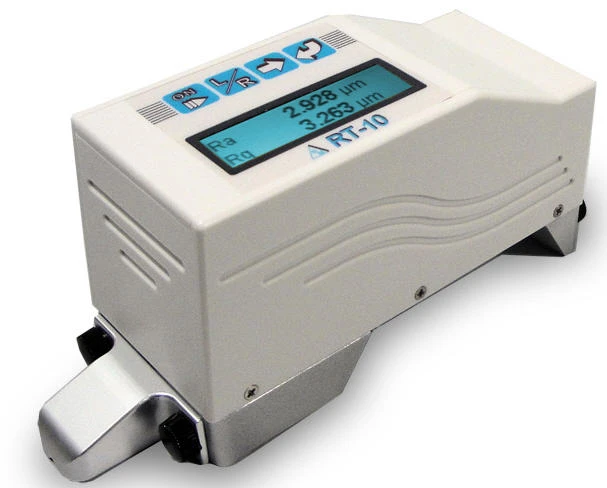
The portable RT-10 PLUS palmtop roughness tester, permits the evaluation of the most important roughness parameters directly on the production site, offering, in a compact package, the advantages of being easy to carry, simple to use and reliability of measurement.
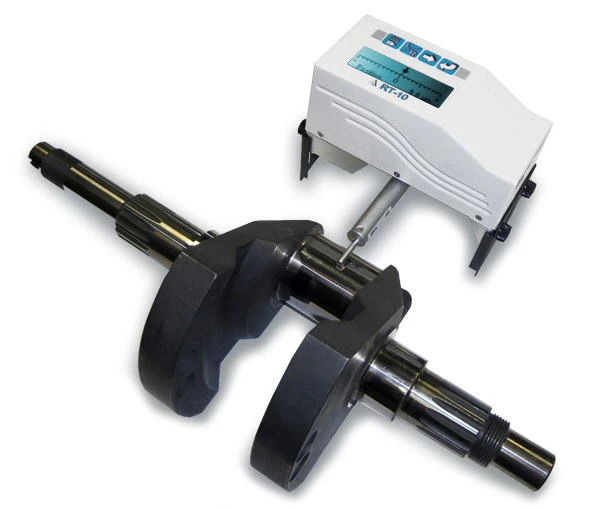
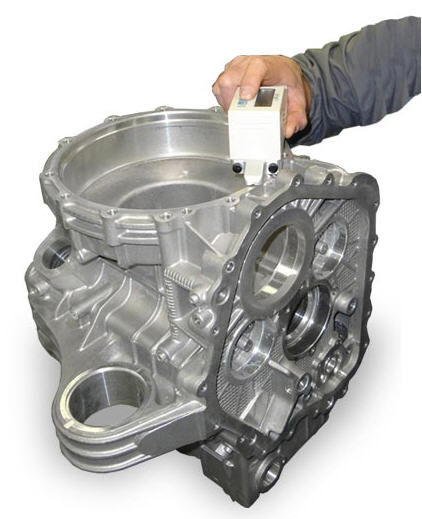
Designed for use on the shop floor, it is shielded against external agents by a special protective membrane. It may measure in difficult positions, including when held in the hand, in the vertical traverse position.
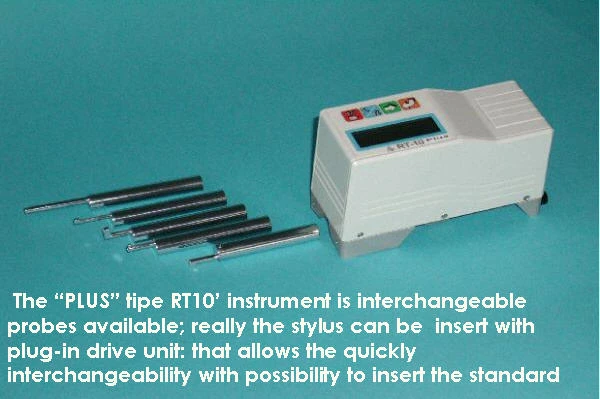
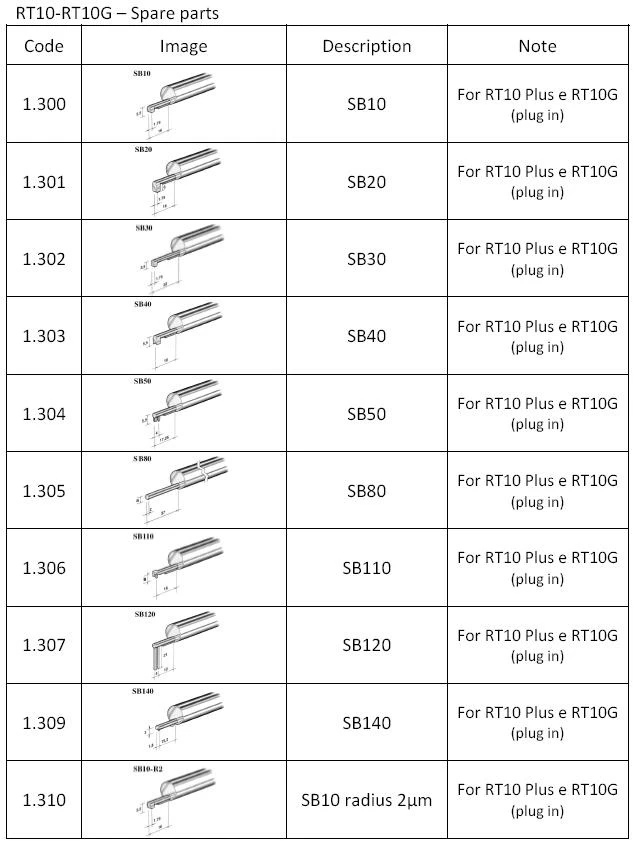
The RT10 Plus (code 1.101) roughness tester features a plug-in connector that allows to
interchange the pick-up, thus being able to take measurements on all
types of surfaces, by simply mounting the most suitable pick-up.
| Measurement range: | ±200 μm |
| Resolution: | 0,001 μm |
| Cut-off lenght: | 0,25 – 0,8 - 2,5 mm |
| Cut-off number: | Selectable from 1 to 5 |
Traverse lenght : | Up to 16 mm |
| Pick-up: | Inductive, it can be rotated of 90° for lateral measurements |
Measurement parameters: | 11 parameters (Ra, Rq, Rt, Rz, Rc, RSm, Rmr- Pt, R, AR, Rx) |


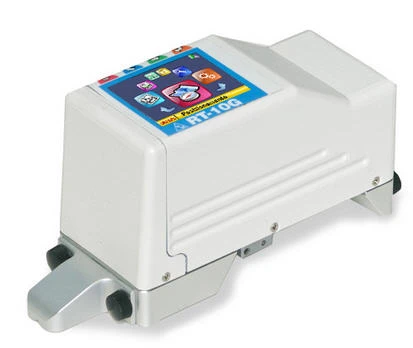
RT10G
RT10G roughness tester was born from the success obtained by RT10; easy to handle and reliable like the basic version, it also carries out advanced analyses typical of a laboratory instrument.
In addition to 31 roughness parameters calculated, RT10G displays the graphs of the roughness profile, primary profile, bearing capacity curves, distribution of ordinates, and allows to set tolerances on single parameters and personalize prints. RT10G uses new generation electronics with 0.001 µm resolution that ensure always reliable results and displays them in a user-friendly fashion, thanks to the internal icon menus taken from modern Smartphones.
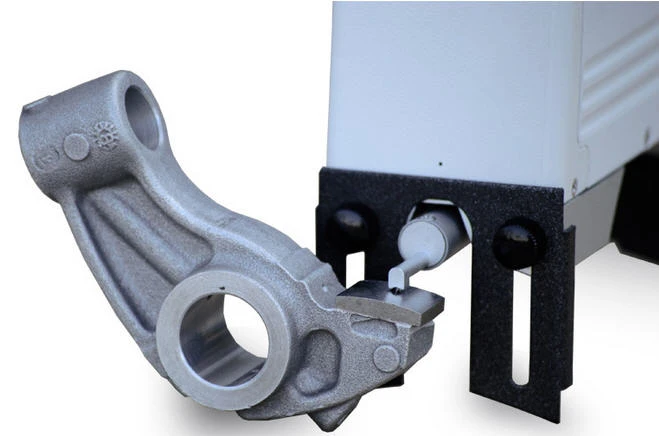
| Measurement range: | ±300μm |
| Resolution: | 0,001 μm |
| Cut-off Lenght: | 0,25 – 0,8 - 2,5 mm |
| Cut-off number: | Selectable from 1 to 5 |
| Traverse lenght: | Up to 16 mm |
| Pick-up: | Inductive, it can be rotated of 90° for lateral measurements |
| Measurement parameters: | 31 parameters (Ra, Rq, Rt, Rz, Rp, Rc, Rv, Rsm, Rdc, Pa, Pq, Pt, Pp, Pc, Pv, Psm, RPc, PPc – Rk, Rpk, Pvk, Mr1, Mr2 – Pt, R, Rx, AR-R3, R3zm, Rmax) |
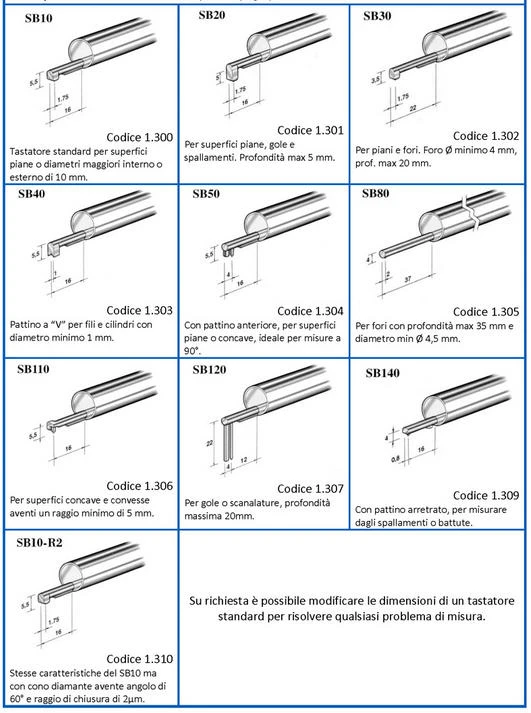

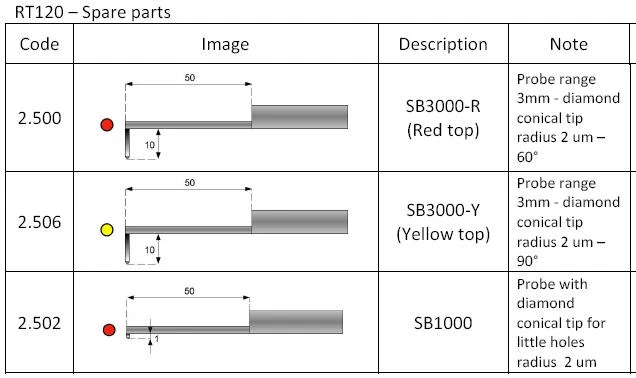
RT120 Laboratory Profilometer-roughness tester
Profile Studio software was developed to be extremely user friendly and easy to use by the operator; all functions required for the characterization of the profile and roughness are available in the right toolbar and divided into categories, each one featuring a different colour.
New dimensions and roughness analyses can be input on the same profile and displayed on the same screen, in order to allow the operator to carry out a complete analysis of the piece, with one single measurement.
Thanks to the self-comparing function, it is possible to reconstruct all dimensions and dimensional tolerances of a reference profile on a new profile, thus saving a considerable amount of time for the check in series.
The roughness parameters are elaborated according to the most recent standards like ISO 4287, ISO 13565-1 and -2, ISO 12085, VDA 2007 for a total of 70 parameters calculated.
| Parameters calculated: | |
| ISO 4287:09 | Rp, Rt, Rv, Rc, Rz, Rzjis, Ra, Ra75, RSm, RΔq, Rsk, Rku, Rδc, RPc, RmrRel Wp, Wt, Wv, Wc, Wz, Wa, Wq, WSm, WΔq, Wsk, Wku, Wδc, WPc, WmrRel Pp, Pt, Pv, Pc, Pz, Pa, Pq, PΔSm, Pq, Psk, Pku, Pδc, PPc, PmeRel |
| ISO 13565:96 | Rk, Rpk, Rvk, Mr1, Mr2, A1, A2 |
| DIN 4768:90 | Ry5, Rmax, R3z, R3zMax, PtDIN |
| ISO12085:98 | Pt, R, AR, Rx, Wte, W, AW, Wx, Rke, Rpke, Rvke |
| VDA 2007 | WD, WDc, WDt, WDSm |
| Measurement range in X: | 0.15 mm– 120 mm |
| Measurement range in Z: | 3 mm o 5 mm |
| Resolution in X: | 0.1 μm |
| Resolution in Z: | 0.1 nm |


